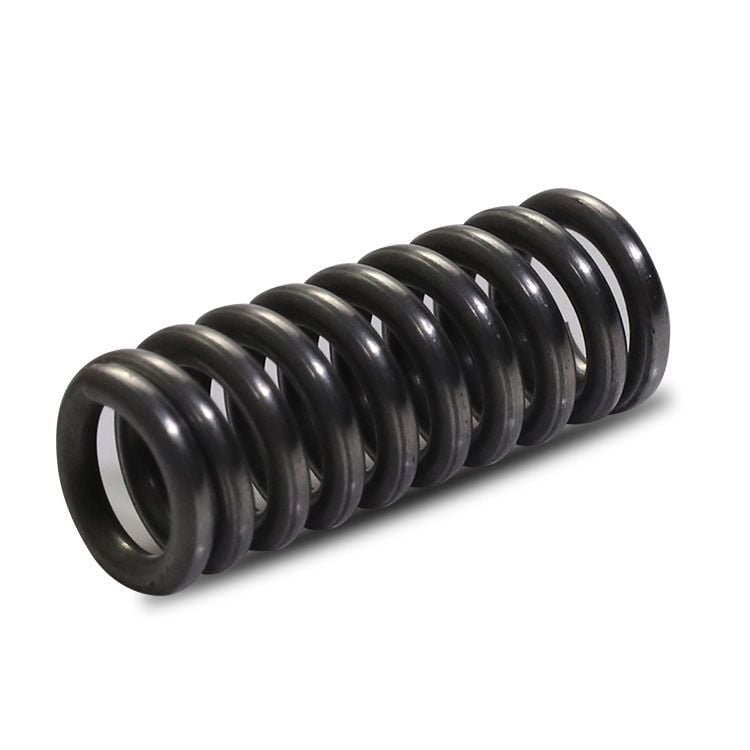
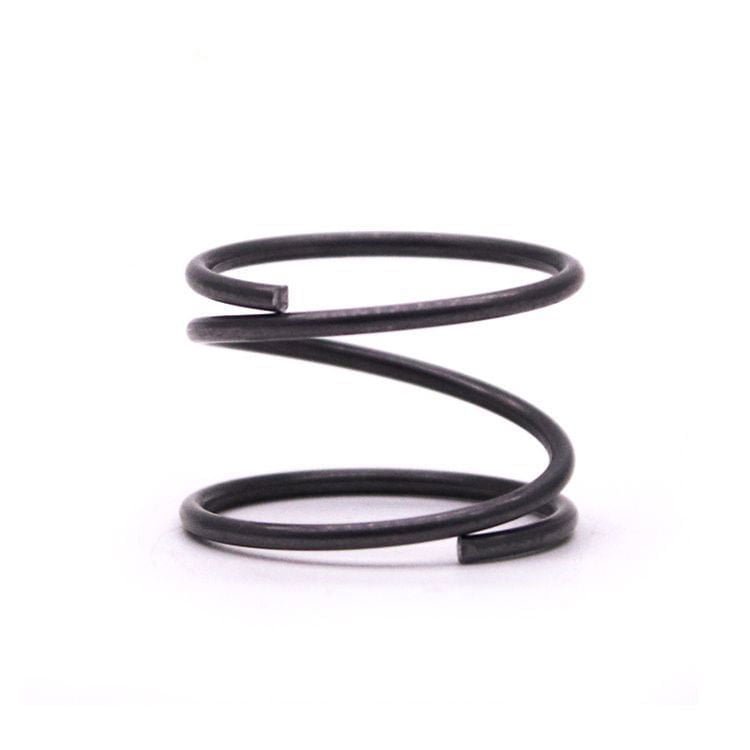
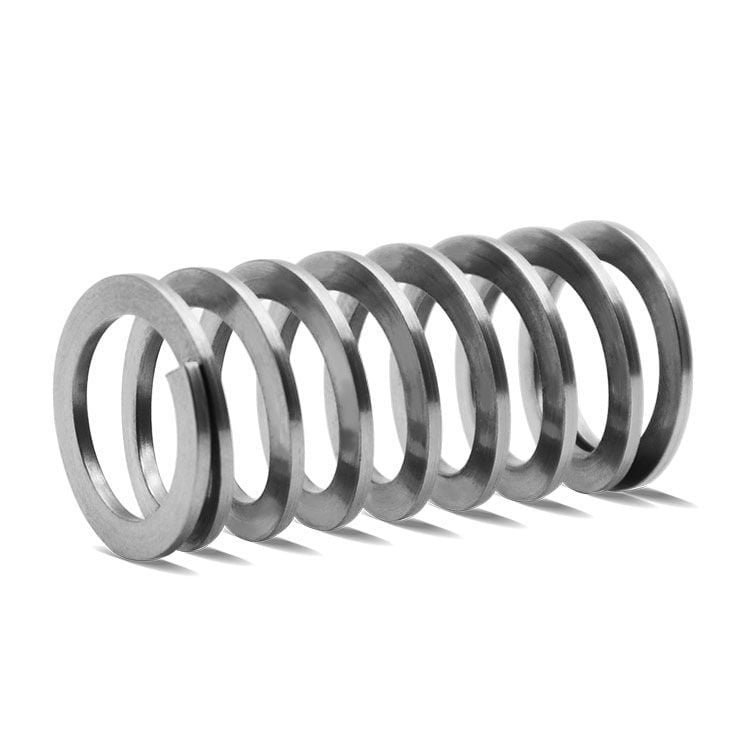
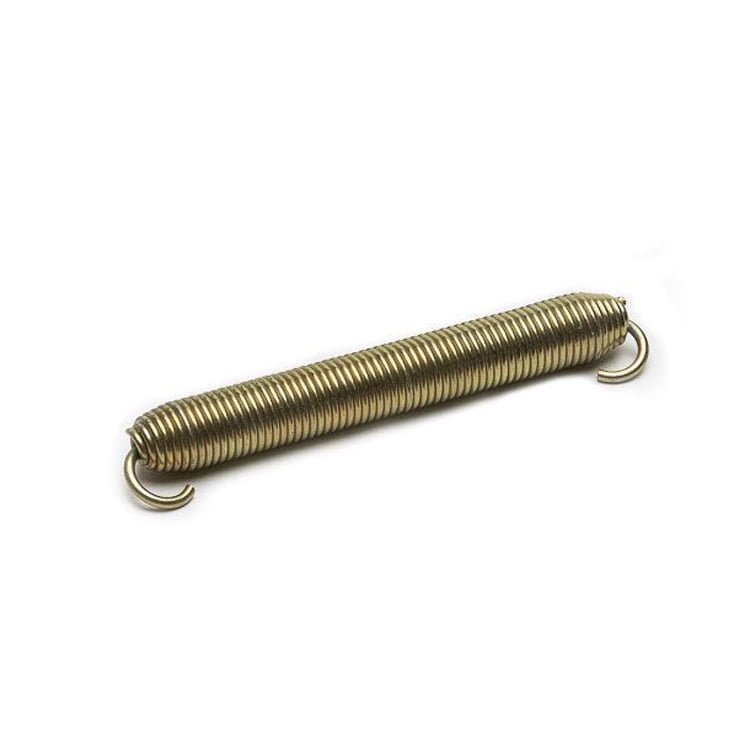
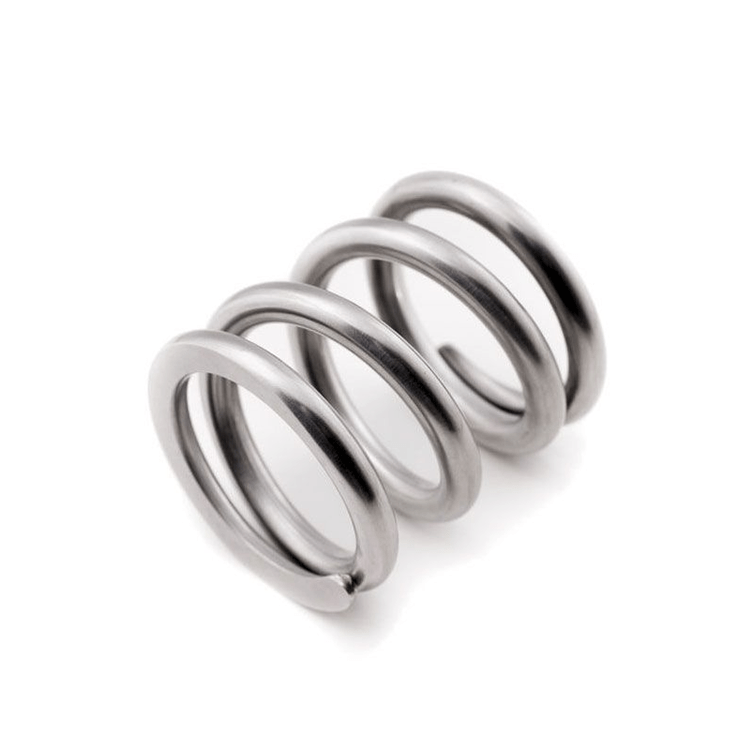
Automotive snap rings
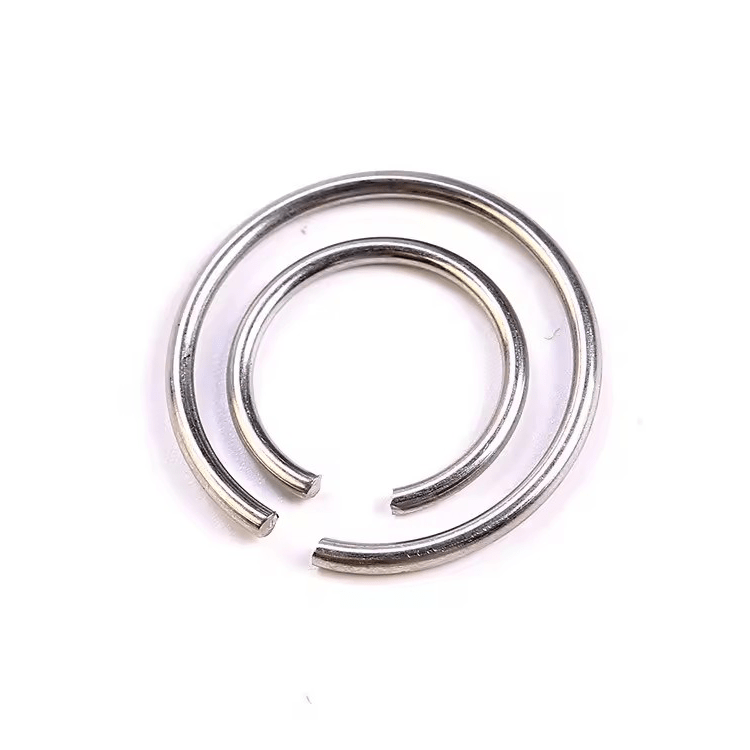
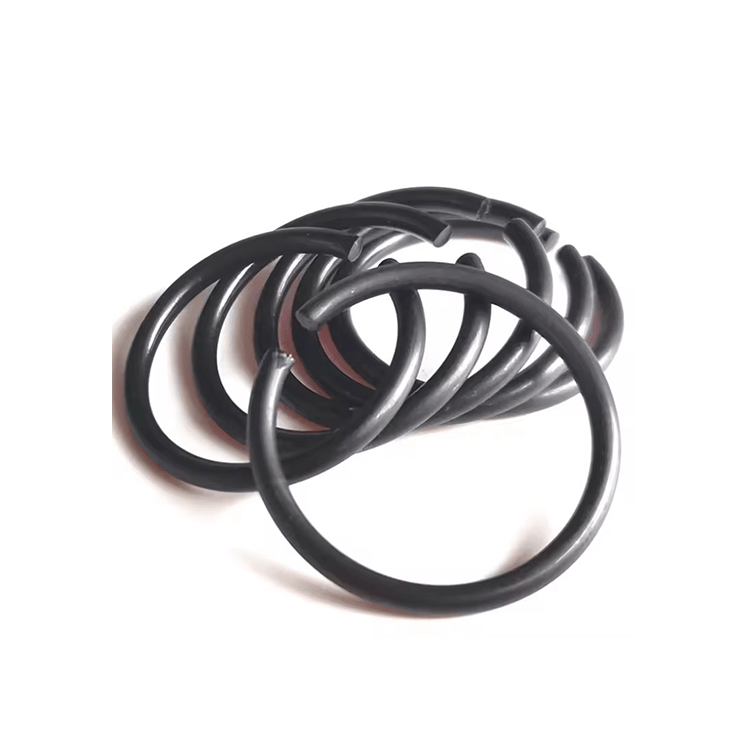
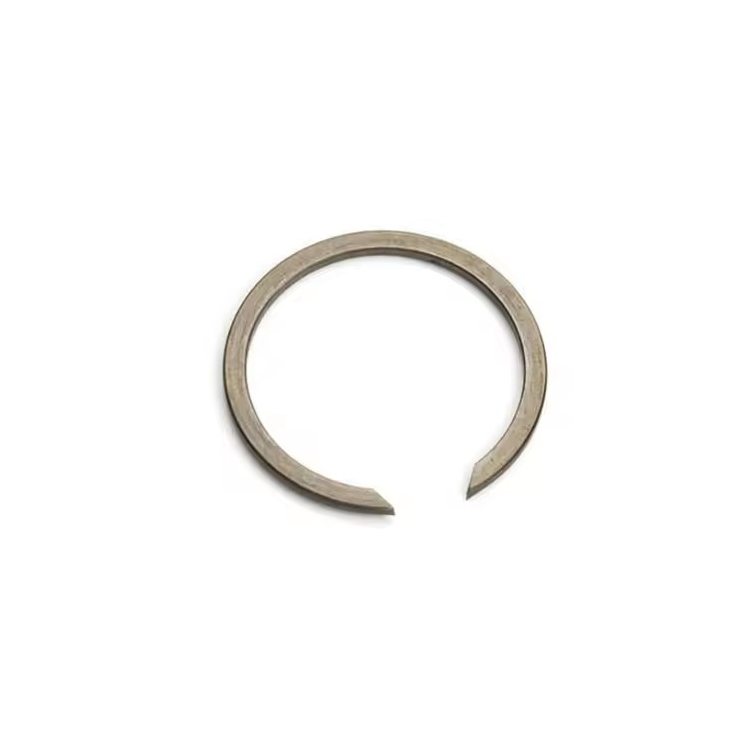
Automotive snap rings is one of the key parts of automobile,Every detail is about the safety, performance and durability of the vehicle. With its unique design and function, Automotive snap rings an irreplaceable role in automobile assembly and maintenance.
As a compact and strong connection element, the Automotive snap rings is made of high-strength materials, such as stainless steel, carbon steel or alloy steel, to ensure stable connection performance under various harsh conditions. The design of the Automotive snap rings is exquisite, and it can be easily installed in various holes and slots of the car to effectively fix or position the auto parts.

Automotive snap rings product features:
- The Automotive snap rings is made of high-quality raw materials, with high tensile strength and wear resistance, and can withstand various shocks and shocks during car driving to ensure long-term reliability.
- The special design of the Automotive snap rings makes it simple and fast in the installation process, without complex tools or professional skills, and can be easily disassembled when it needs to be replaced or repaired, improving maintenance efficiency.
- Can design and manufacture accurate dimensions, so that the Automotive snap rings can be closely fitted on the auto parts, accurate positioning and stable fixing, to avoid the safety risks caused by loose or falling parts.
Installation steps of the Automotive snap rings:
1. Prepare tools and materials:
- Ensure that the necessary tools are ready, depending on the type and installation position of the tools and buckle.
- Check whether the buckle is intact and not damaged or deformed.
2. positioning the installation position:
- Look carefully at the vehicle construction drawings or instructions to determine where the buckle is to be installed, usually near parts that need to be fixed or positioned, such as body coverings, interior trim, or holes in the chassis system.
3. Open the mounting hole:
- If the installation position has a dust cover or protective cover, open or remove it to expose the installation hole.
4. Insert the buckle:
- Align the buckle with the mounting hole in the correct direction. For the internal circlip, it is usually necessary to Orient its open end towards the hole; For the external circlip, the open end faces out of the hole.
- Gently insert the buckle into the mounting hole until it is fully in place. During insertion, pliers or special spring pliers may be used to assist installation to ensure that the buckle can be smoothly inserted into the hole slot and properly fastened.
5.check the installation effect:
- After the installation is complete, gently shake or pull the fixed parts by hand to check whether the buckle is firmly fixed in the mounting hole. If the buckle is loose or fails to secure parts, adjust the buckle and reinstall it.
- At the same time, you can also judge whether the buckle is installed in place by the sound and feel. In general, when the buckle is installed correctly, you will hear a crisp “snap” sound or feel a clear sense of tightening.
6. Cleaning and finishing:
- After installation, remove excess parts, tools, and debris to keep the installation area clean.
- If necessary, you can apply an appropriate amount of lubricant or rust inhibitor around the mounting hole to improve the corrosion resistance and service life of the buckle.
Please note that the above steps are only general installation instructions, and the installation method may vary depending on the vehicle type, buckle type, and installation location. Therefore, in the actual installation process, it is recommended to refer to the vehicle structure drawings, instructions or consult professional technicians.


