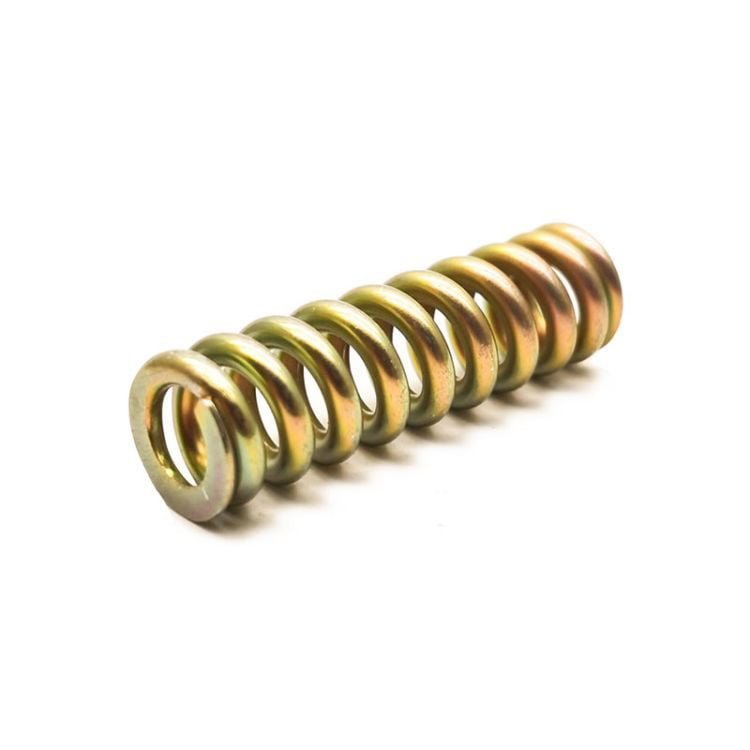
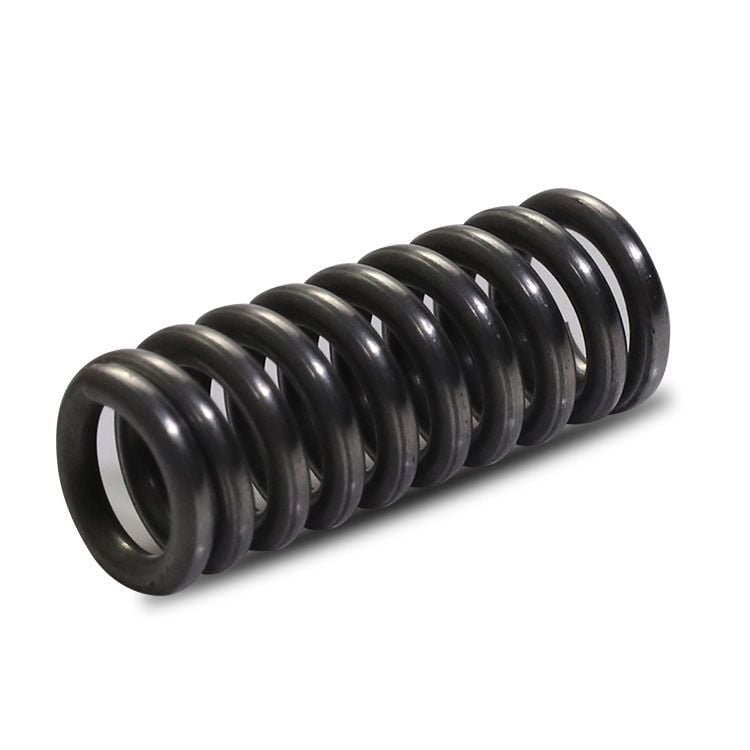
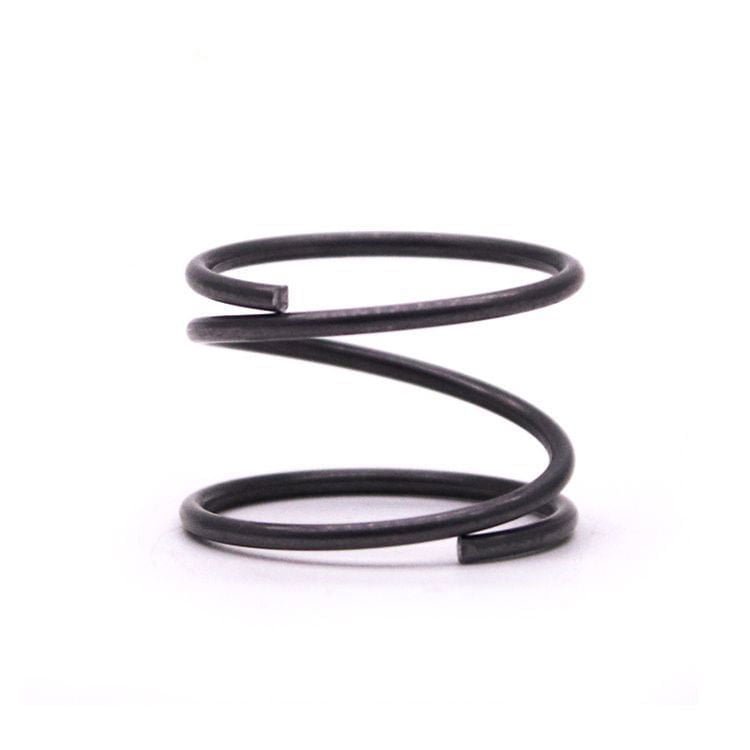
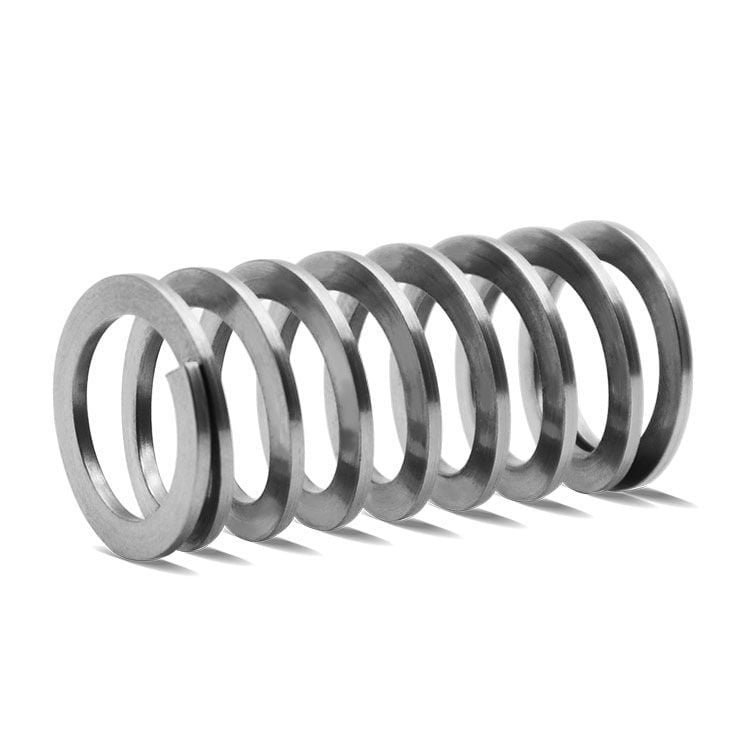
Installing garage door springs
Installing garage door springs, extra care is needed because not following the correct safety measures can be dangerous, but if you know what you are doing and have some tools ready, you can save some money by replacing or installing garage door springs yourself.
How garage door springs work
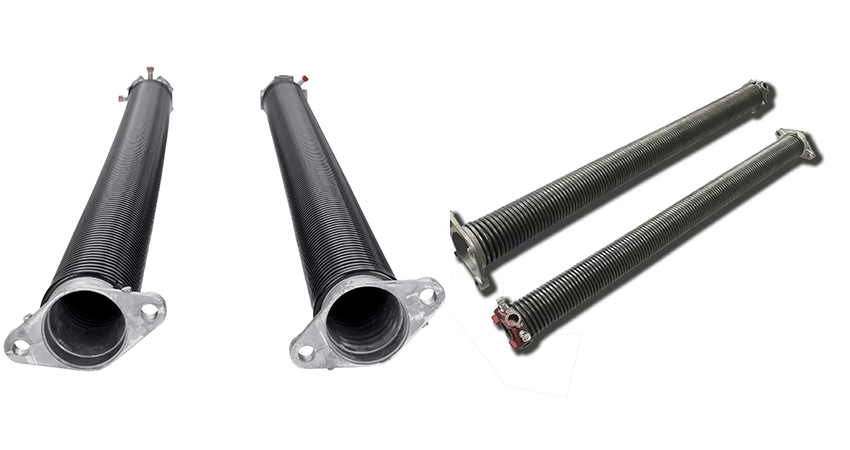
The garage door spring is an important part of the garage door and plays a crucial role in the opening and closing process. You probably know how a spring works: When it retracts, the spring stores energy in the coil, and when it releases, the spring releases energy. Torsion springs work the same way as other springs, but are stronger and more durable than ordinary springs.
Why does garage door torque spring break?
There are many reasons for garage door torque spring failure, but the most common are the following:
1.Overall deterioration:
Like any other component, garage door springs can wear out, and although they have a long service life, frequent switching can affect the life of the spring.
2.Corrosion
Rust will greatly shorten the service life of the spring, rust will increase the friction of the coil, and weaken the spring itself. Sprays the spring with a silicon-based lubricant several times a year for simple maintenance to prevent rust and extend service life.
3.Unscheduled maintenance
Your garage door moves and balances perfectly, and the springs can be adjusted or replaced if the balance is checked regularly.
You can check the balance by manually lifting the door halfway and then releasing it. If the spring is in good condition, the door stays still or moves only slightly. If it sags slightly, tilts, or slides upward, the balance is broken and you or a professional will need to replace or adjust the spring.
7 steps to installing new garage door springs:
- Installing garage door springs using the correct tools
- Measure and find the correct size torque spring
- Close the garage door
- Make sure the garage door opener is unplugged
- Attach the C-clamp to the track
- Install new spring
- Check the balance of the door and lift it
Guidelines for installing garage door springs:
- Ladder
- Winding rod
- Safety goggles
- Leather/mechanical gloves
- Wrench
- Installing garage door springs
- Vise/locking pliers
Garage door spring replacement step-by-step guide
The garage door needs to be kept closed before the installing garage door springs can be replaced. Prepare all tools in advance and ensure that the garage door opener is unplugged. To prevent it from opening, secure the C-clamp to the track above the lowest roller on both sides of the door.
installing new garage door springs
- Before you start fitting garage door springs, check to see if there are any other worn or rusted parts that need to be replaced, for example, make sure the bearings are running smoothly, you can use garage door lubricant to help them move smoothly, and if this doesn’t help, buy some new bearing plates and torque springs as well.
- Starting with the left spring, slide it into place on the torque shaft, then replace the cable reel and repeat on the other side as you removed it, assuming your garage door has two springs.
- After replacing the new cable reel and reel, place the torque shaft in the center of the bearing plate. The retaining cone is then secured to the center plate using the previously removed nuts and bolts.
Next, we reattach the cable to the left cable reel, place the cable stop in the slot on the reel, fix the torque shaft, and connect the vise. Wrap the cable around the drum and tighten the screws. Remove from the vise and repeat on the right cable reel. Both sides need the same tension, so make sure to pull each cable reel equally tight. Think of cables as guitar strings that are neither loose nor too tight to break.
Installing garage door springs looks simple, but the actual operation process also needs to pay extra attention to safety, if you do not operate, you can consult a professional person, or hire a professional master to install.


